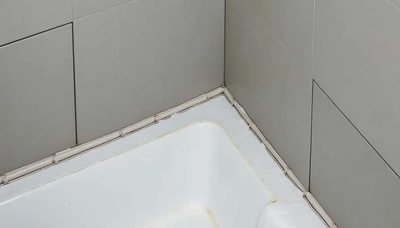
Learning how to clean shower mold starts with a simple distinction: surface growth is not always the same thing as hidden water damage. Small dark spots on grout, caulk, or the ceiling may respond to careful cleaning and better ventilation. Persistent growth, soft drywall, a musty smell, or staining that returns quickly deserves a closer look before anyone sells you a major bathroom remodel.
This is especially important for older homeowners. A contractor may point to mold and immediately recommend demolition, waterproofing, new tile, or a complete shower conversion. Sometimes that work is justified. Sometimes the visible problem is being used to create urgency. Slow the paper down. Photograph the area, identify the source of moisture, and separate cleaning from construction before discussing a price.
How to clean shower mold on tile and grout
Before cleaning, open a window if possible, turn on the bathroom fan, and wear waterproof gloves and eye protection. If you have asthma, strong chemical sensitivity, or a breathing condition, ask someone else to handle the work. Never mix bleach with ammonia, vinegar, acids, or other cleaners. Dangerous fumes can form even when the products are used in a small bathroom.
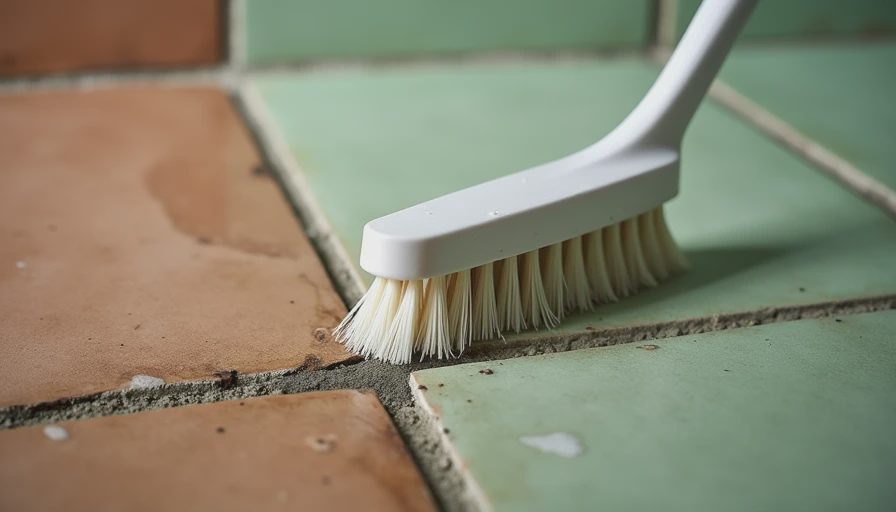
For limited mold on hard, nonporous tile, start with a commercial bathroom mold cleaner or a properly diluted product labeled for that surface. Follow the label rather than guessing at the concentration. Apply it to the affected area, allow the stated contact time, scrub with a stiff nylon brush, and rinse thoroughly. An old toothbrush can reach narrow grout lines, while a plastic scraper can lift loose caulk without damaging the tile.
If you are deciding how to clean shower mold from grout, remember that grout is porous. Surface discoloration may improve without disappearing completely. Do not attack it with a metal brush or aggressive sanding. Those methods can damage the finish and leave deeper grooves where water collects. After rinsing, dry the area with a towel and run the exhaust fan for at least 20 minutes.
When cleaning is not the whole solution
Cleaning will not solve a leaking valve, failed caulk joint, cracked shower pan, or plumbing connection inside the wall. Watch what happens after the shower is used. Water on the bathroom floor, bubbling paint, swollen baseboard, loose tile, or a ceiling stain below the bathroom points to a moisture problem that needs investigation.
A persistent musty odor is another useful clue. Mold behind a wall may not be visible from the shower surface. However, an odor alone is not proof that the entire bathroom must be removed. Ask for a written explanation of the suspected source, the area to be opened, and the repair method. A complete job should have a complete scope.
If a contractor says the shower is “full of mold” after a quick visual inspection, ask what was actually inspected. Was the access panel opened? Was the plumbing tested? Was moisture measured, or was the conclusion based only on dark grout? The difference matters. A careful professional can explain what is known, what is suspected, and what testing or limited demolition would confirm.
A practical cleaning and prevention routine
The safest answer to how to clean shower mold includes what happens after the scrubbing is finished. Remove damp bath mats and hang towels so they dry fully. Use a squeegee on glass and tile after bathing, especially along the bottom edge of the door. Repair dripping faucets and replace cracked caulk with a product designed for bathrooms. Old caulk should be removed completely before new caulk is applied; covering moldy material simply hides the problem.
Run the exhaust fan during the shower and for roughly 20 to 30 minutes afterward. If the fan is noisy but moves little air, it may be dirty, undersized, or vented incorrectly. A humidity meter costing about $10 to $25 can help you see whether the room stays damp for hours. Do not permanently block a fan with a shelf or cabinet, and do not vent moist air into an attic or wall cavity.
For a small recurring area, clean it, dry it, and observe it for several weeks. Keep dated photos. That record is more useful than a vague statement that the mold “keeps coming back,” particularly when comparing a repair estimate.
How to review a mold or bathroom repair estimate
A reasonable estimate should identify the location of the suspected moisture, the planned investigation, the materials, and the limits of the work. Look for clear language about demolition, disposal, replacement of damaged drywall, waterproofing, tile, fixtures, ventilation, permits, and cleanup. If the proposal says “repair shower as needed,” it is not a complete scope. “As needed” can become an open checkbook.
Ask whether the price includes a new shower valve, drain, pan, backer board, membrane, trim, and shower door. These items can add hundreds or thousands of dollars when they are excluded from an attractive base price. A shower conversion advertised at $8,000 could become $14,000 or more after plumbing changes, wall repairs, accessibility features, and disposal are added. The number is not automatically unreasonable; the omission is the concern.
Payment terms also deserve attention. A large deposit, same-day financing offer, or demand for a signature before you can compare bids should slow the process. Read cancellation rights and interest terms separately from the salesperson’s presentation. If it matters, it should be written.
Red flags in urgent mold sales pitches
Urgency is not proof. Be cautious when someone claims that your family will become seriously ill unless you sign immediately, says the price is available only for a few hours, or discourages you from getting another opinion. A contractor should be able to explain the visible condition without turning every dark grout line into an emergency.
Other warning signs include a contract with no business address, unclear licensing information, blank spaces, handwritten price changes, or a promise that permits are “not necessary.” Do not let a worker begin demolition before you understand who is responsible for protecting floors, removing debris, repairing hidden damage, and restoring the bathroom if the project stops.
You can ask for proof of general liability insurance and workers’ compensation coverage, then verify license requirements through your state or local authority. Check references for comparable bathroom work, not just general remodeling. A legitimate contractor may be busy, but that is different from refusing ordinary questions.
When to clean, repair, or seek professional help
You can usually handle a small patch on hard tile when the surface is intact, the room can be ventilated, and there are no signs of leaks. Professional help makes more sense when mold covers a large area, returns despite drying, reaches drywall or insulation, or follows a plumbing leak. A remediation specialist and a bathroom remodeler do different jobs, so understand which service you are being offered.
Before approving expensive work, take photographs, write down the date, and obtain at least one independent opinion. Ask each provider to describe the cause before recommending replacement. Compare scopes line by line, including demolition, waterproofing, ventilation, cleanup, warranties, and payment milestones.
Knowing how to clean shower mold is useful, but knowing when cleaning is not enough protects your budget. Start with the smallest reasonable remedy, document what you find, and require every promised repair to appear in the contract. That approach leaves room for necessary work without handing urgency control of the decision.