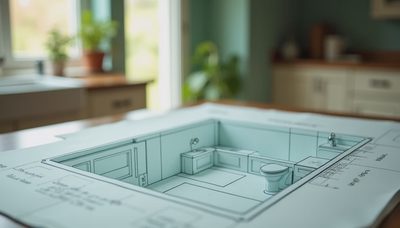
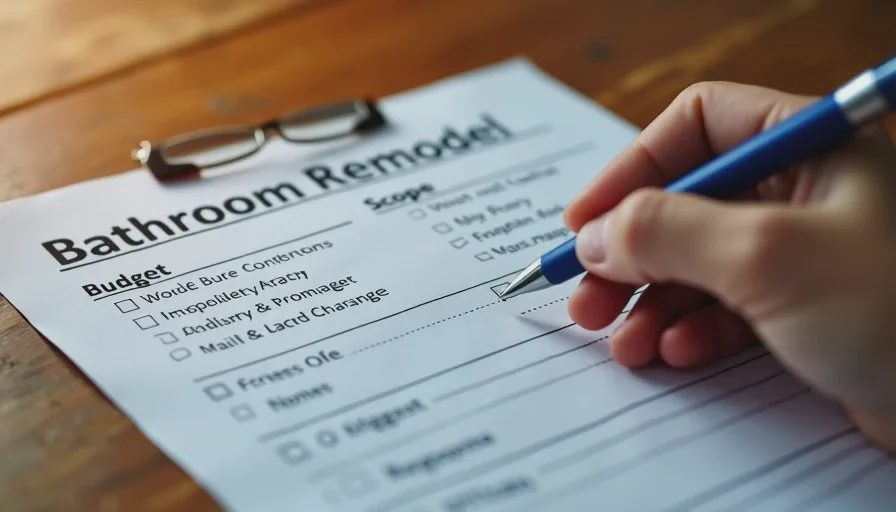
This is the checklist I wish every older homeowner had before they signed a bathroom remodel contract.
Not a design checklist. Not a list of tile colors or fixture styles. A pre‑contract, pre‑construction checklist that catches the problems before they become expensive surprises.
I have reviewed dozens of bathroom remodel disputes over the years. In almost every case, the problem could have been prevented—if the homeowner had asked the right questions before work began. Not during the work. Not after the work. Before.
This checklist is organized into four phases: Planning, Contract Review, Pre‑Construction, and During Construction. It is not exhaustive, but it covers the most common gaps and traps I see.
Print it. Share it with your spouse or adult children. Bring it to every meeting with your contractor. And do not sign anything until you have checked every box.
Phase 1: Planning (Before You Get a Quote)
You do not need a detailed design before you call a contractor. But you do need to know what you want—and what you do not want.
☐ 1. Know Your Budget—and Add 20%
Bathroom remodels almost always cost more than the initial quote. Not because contractors are dishonest, but because hidden conditions are almost always discovered once the walls are open.
What to do: Set a budget that includes a 20% contingency. If your maximum is $15,000, aim for a contract price of $12,000. That gives you $3,000 for surprises.
☐ 2. Define the Scope in Plain Language
Before you talk to any contractor, write down what you want in plain English. For example:
Remove existing tub and replace with a curbless shower
Install grab bars at toilet and shower
Replace vanity with a taller, more accessible model
Install non‑slip flooring
Replace shower valve with a pressure‑balanced model
Add under‑cabinet lighting
Why it matters: A contractor cannot give you an accurate quote if you do not know what you want. And you cannot compare quotes if you are comparing different scopes.
☐ 3. Identify Any "Nice‑to‑Haves"
Separate must‑haves from nice‑to‑haves. A heated floor is nice. A grab bar is essential. If the budget gets tight, you want to know what you can cut.
Why it matters: When the contractor offers to "upgrade" you during construction, you need to know whether that upgrade is essential or optional.
☐ 4. Know Your Home's Age and Construction Type
Older homes have older systems. If your home was built before 1980, assume the plumbing and electrical will need updating.
What to ask yourself: Is my home on a slab, crawlspace, or basement? What is the age of my water heater? Has the electrical panel been upgraded? The answers to these questions will affect the cost of your remodel.
Phase 2: Contract Review (Before You Sign)
This is the most critical phase. A complete contract is your best protection. An incomplete contract is an open door to surprises.
☐ 5. Verify the Contractor's License
What to do: Look up the contractor's license number on your state's licensing board website. Verify that it is active, not expired, and that the license type matches the work being performed.
Why it matters: A license is the minimum requirement. If the contractor cannot meet the minimum, they cannot meet anything else.
☐ 6. Verify Insurance (Liability + Workers' Comp)
What to do: Ask for a certificate of insurance. Call the insurance agency listed on the certificate and verify that the policy is active and covers your address. Ask for certificates from every subcontractor, too.
Why it matters: If a worker is injured on your property and the contractor has no workers' comp, you could be liable.
☐ 7. Confirm Permit Responsibility
What to look for: The contract must state who pulls the permit, when it will be pulled, and who schedules the inspections. The permit must be pulled before demolition begins—not after.
Why it matters: Unpermitted work can result in a stop‑work order, fines, and problems when you sell your home.
☐ 8. Review the Scope of Work Line by Line
What to look for: Every trade—demo, plumbing, electrical, framing, waterproofing, tile, trim, cleanup—should be described in specific terms. If it says "plumbing as needed," that is a red flag. It should say "relocate shower valve, install new drain line, connect to existing supply lines."
Why it matters: If it is not in the scope, it is not included. And if it is not included, it will be a change order.
☐ 9. Check for a Detailed Waterproofing Scope
What to look for: A complete waterproofing scope specifies the membrane brand and product, seam sealing, curb waterproofing, floor slope, drain integration, and leak testing. If it says "waterproofing per manufacturer spec" without naming the manufacturer, it is incomplete.
Why it matters: Waterproofing is the most common source of hidden failures. A complete scope protects you from rot and mold.
☐ 10. Review the Payment Schedule
What to look for: Payments should be tied to visible progress, not calendar dates. A safe schedule is 10% at signing, 25% on material delivery, 25% on rough‑in pass, 25% at substantial completion, and 15% after final inspection and punch list. Never pay more than 10–15% upfront.
Why it matters: Once you pay, you lose leverage. Hold the final payment until the job is complete and inspected.
☐ 11. Check Allowances
What to look for: Every allowance should specify the item, the dollar amount, the supplier, and the product line. If the allowance is not tied to a specific product, it is too low. Ask for a "not‑to‑exceed" commitment.
Why it matters: Allowances are where budgets blow up. Realistic allowances protect your budget.
☐ 12. Read the Warranty
What to look for: The warranty must be in writing. It should state who is responsible for what, for how long, and what happens if the contractor goes out of business.
Why it matters: A verbal warranty is not a warranty. It is a suggestion.
☐ 13. Confirm the Cancellation Clause
What to look for: Federal law gives you a three‑day cooling‑off period for door‑to‑door sales. But if you signed in the contractor's office, that may not apply. Read the cancellation clause carefully.
Why it matters: If you change your mind or discover problems, you need to know your options.
Phase 3: Pre‑Construction (Before Work Begins)
You have signed the contract. The start date is set. Now is the time to prepare—and to verify that the contractor is ready.
☐ 14. Confirm the Start Date
What to do: Get a firm start date in writing. Confirm that the contractor will be on site on that date—not "sometime next week."
Why it matters: Delays at the start of a project usually cascade into longer delays later.
☐ 15. Review the Material Selection Deadline
What to do: If you are responsible for selecting materials, confirm the deadline for those selections. If you miss the deadline, the contractor may choose for you—and charge you for the difference.
Why it matters: You want to be the one choosing your tile and fixtures—not the contractor.
☐ 16. Verify the Permit Has Been Pulled
What to do: Call your local building department and confirm that the permit has been applied for and approved. Do not let demolition start without it.
Why it matters: Work without a permit is illegal. And you are the one who will be fined.
☐ 17. Protect Your Belongings
What to do: Move furniture, rugs, and breakables out of the bathroom and adjacent rooms. Cover floors and furniture in the work area. Remove items from walls.
Why it matters: Dust and debris are inevitable. Protecting your belongings prevents disputes over damage.
☐ 18. Plan for Alternative Bathroom Access
What to do: If the remodel involves the only full bathroom in your home, plan for alternative access. Arrange to use a neighbor's bathroom, install a temporary toilet, or plan to stay with family during the construction.
Why it matters: You cannot shower in a construction zone. And you should not be forced to.
Phase 4: During Construction (Before Final Payment)

The work is underway. You cannot control everything, but you can monitor progress and catch problems early.
☐ 19. Conduct a Daily Walk‑Through
What to do: At the end of each day, walk through the work area with the contractor. Look at what was done and what is planned for tomorrow. Take photos.
Why it matters: Daily walk‑throughs catch small problems before they become big ones. They also show the contractor that you are paying attention.
☐ 20. Attend the Rough‑in Inspection
What to do: The rough‑in inspection is the most important inspection. It covers framing, plumbing, electrical, and structural work before the walls are closed. Attend it.
Why it matters: If you are not there, you will not know what was inspected—and what was missed.
☐ 21. Verify the Leak Test
What to do: Before tile is installed, the waterproofing system should be leak‑tested. The contractor should fill the shower pan with water and let it sit for 24 hours. Verify that this happened.
Why it matters: If the leak test was skipped, the waterproofing is unverified. And unverified waterproofing is a future leak.
☐ 22. Request Lien Waivers Before Final Payment
What to do: Before you release the final payment, demand a conditional lien waiver from every subcontractor and supplier. That documents that they have been paid and cannot file a lien on your home.
Why it matters: Without lien waivers, you could end up paying for the same work twice.
☐ 23. Walk the Completed Job
What to do: Before you make the final payment, walk through the completed job with the contractor. Bring a flashlight. Check every surface. Open every cabinet. Test every fixture.
Why it matters: This is your final opportunity to catch problems before the contractor leaves.
☐ 24. Confirm the Final Inspection Has Passed
What to do: Confirm that the final inspection has been passed and the permit is closed. Do not make final payment until you have confirmation.
Why it matters: A failed final inspection means the work is not code‑compliant. And you are the one who will have to fix it.
My Rule for Older Homeowners
Here is the rule I want you to remember:
A checklist is not a guarantee. But it is a tool.
You can use this checklist to spot gaps, ask better questions, and protect yourself from surprises. But the checklist only works if you use it. Print it. Bring it to meetings. Check every box before you sign.
A bathroom remodel is a big project. It takes time, money, and patience. But it should not take your peace of mind. And if you follow this checklist, it is much less likely to.