
Learning how to clean baseboard heaters is a small home-maintenance task that can improve airflow, reduce dusty smells, and help you notice problems before they become expensive. The work is usually straightforward, but the first step is identifying what kind of heater you have. Electric baseboard heaters contain heating elements and wiring. Hydronic units use hot water flowing through a metal tube. Both types need care, but neither should be treated like a floor vent or radiator you can scrub aggressively.
Before touching the heater, move furniture, curtains, storage bins, and rugs away from it. Give yourself room to see the top grille and the wall behind the unit. If the heater is electric, turn the thermostat down and switch off the circuit breaker that supplies it. Do not rely only on the thermostat; a thermostat set to “off” does not always remove power from the heater. Wait until the unit is completely cool.
Identify the Heater Before Cleaning
The basic method for how to clean baseboard heaters depends on the equipment. Electric models are often long, narrow metal units with a front cover, top grille, and heating element inside. Hydronic baseboards are connected to pipes that carry heated water from a boiler. They may have a finned copper tube behind the cover and valves at one end.
Look for clues without removing anything complicated. An electric heater may have a wall thermostat and no visible water pipes. A hydronic heater may have supply and return pipes entering the wall or floor. If you rent, live in a condominium, or are uncertain, take a clear photograph of the unit and ask a qualified maintenance professional before opening the enclosure.
Do not clean a heater that is wet, smoking, sparking, or producing a sharp electrical odor. A warm dusty smell when the system starts for the first time can be ordinary, but burning plastic, repeated breaker trips, scorch marks, and melted covers are not cleaning issues. Turn the system off and arrange an inspection.
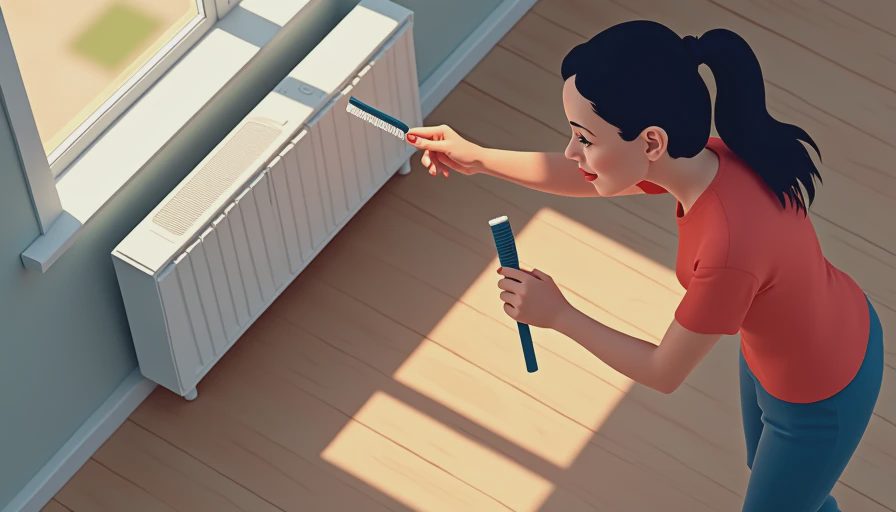
How to Clean Baseboard Heaters Without Damaging Them
The safest approach uses a vacuum with a narrow brush attachment, a soft microfiber cloth, and a small, dry paintbrush. First vacuum the top grille and the floor beneath the unit. Then loosen dust from the openings with the brush while holding the vacuum nozzle nearby. This keeps debris from spreading into the room or falling deeper inside.
If the front cover lifts or snaps off easily, remove it only after power is off and the unit is cool. Take a photograph before removal so you know how the pieces fit. Vacuum the inside carefully, especially around the fins and along the bottom channel. Fins are thin metal strips that transfer heat; bending them can restrict airflow and reduce performance. A fin comb can straighten minor bends, but do not force damaged metal back into place.
Wipe the removed cover with a slightly damp cloth and mild dish soap. Dry it fully before reinstalling it. Never spray cleaner directly into the heater, pour water through the grille, or use a wet cloth near wiring. Compressed air can push dust farther into the enclosure, so a vacuum is generally the more controlled choice.
What to Inspect While the Cover Is Off
Cleaning gives you a useful chance to look for evidence that the problem is bigger than dust. Check for rust, loose mounting brackets, missing screws, damaged insulation, discoloration, and signs that the cover has been rubbing against the heating element. A small amount of surface dust is expected. A blackened wire connection or melted plastic deserves professional attention.
For hydronic systems, look for water stains, green or white mineral buildup, corrosion around valves, and damp flooring. Do not loosen a valve or pipe fitting as part of routine cleaning. A hydronic system can be hot and pressurized, and a minor leak can damage flooring, baseboards, or drywall.
The location also matters. Curtains should end well above the heater, and furniture should not block the front or top openings. A couch pressed against a baseboard unit can make a room feel cold while the heater works harder. That is a layout problem, not proof that you need a new heating system.
If a contractor recommends replacement, ask for the diagnosis in writing. The document should identify the failed component, explain the safety concern, state whether repair is possible, and separate labor from equipment. “Old” is not a complete scope, and it is not automatically a reason to approve a large project.
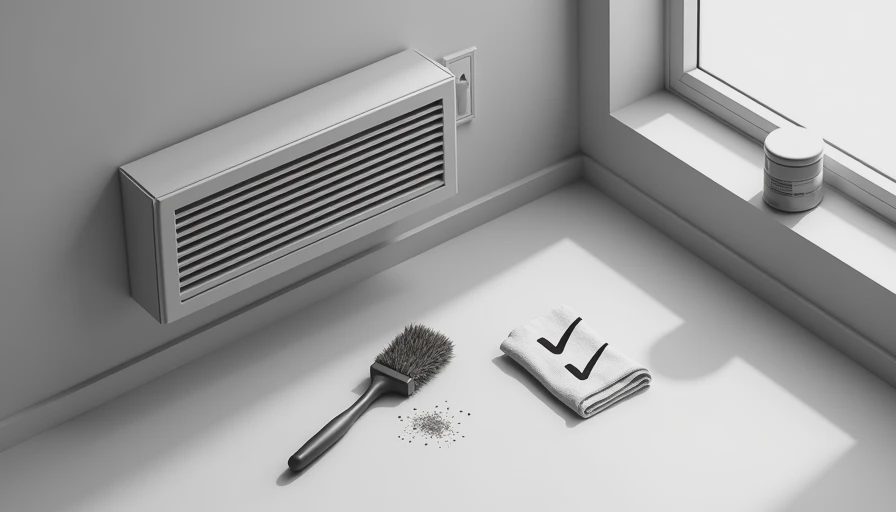
How to Clean Baseboard Heaters in an Older Home
Older homes often have several layers of paint on heater covers, dusty gaps behind trim, and floors that have settled slightly away from the wall. Work slowly around these conditions. Do not pry a cover away from painted wallboard with a screwdriver if it is stuck. You can damage the paint, plaster, or cover and create a repair that was not necessary.
Use a flashlight to inspect the space behind the unit. Dust mixed with pet hair can form a dense mat that limits airflow. Remove it with a brush and vacuum rather than scraping it into the floor. If the heater is near a renovation area, check for drywall dust, sawdust, or insulation fibers. These materials can collect inside the enclosure and should be removed before regular operation.
For a hydronic baseboard, cleaning the outside does not replace bleeding radiators, balancing zones, repairing a circulator, or addressing boiler pressure. If one room remains cold after the fins and openings are clean, record the room temperature, thermostat setting, and whether the pipe becomes warm. Those details help a technician diagnose the system without guessing.
When a Contractor Is Actually Needed
Call a licensed electrician for exposed wiring, repeated breaker trips, a heater that remains energized unexpectedly, or signs of overheating. For hydronic equipment, a heating contractor is appropriate for leaks, frozen pipes, faulty valves, boiler problems, or poor circulation. Cleaning should not be used as a substitute for repairs that involve electricity, gas, water pressure, or combustion equipment.
Before approving work, slow the paper down. Ask for the exact heater or component being repaired, the number of units included, the protection of nearby flooring, cleanup responsibilities, permit responsibility when applicable, and the payment schedule. A useful estimate might say that two 6-foot electric baseboards will be removed, replaced with named equipment, tested, and disposed of. “Repair heating throughout house” leaves too much open.
Be cautious if someone creates urgency by claiming every old heater is dangerous without showing a specific defect. Urgency is not proof. Ask for photographs and a written explanation. Get a second opinion when the proposed work is a full replacement costing hundreds or thousands of dollars, particularly if the original concern appeared after a simple cleaning request.
A Simple Maintenance Record to Keep
After you finish how to clean baseboard heaters, write down the date, rooms serviced, visible damage, and whether each unit heated normally. Keep photographs of questionable areas. A record can show whether a stain is new, whether a breaker problem is recurring, and whether a contractor’s recommendation matches what you observed.
Repeat the inspection at least once each heating season and after dusty remodeling work. Vacuuming more often may be sensible in homes with pets, construction debris, or residents sensitive to dust. Keep the heater area clear year-round, not just when winter begins.
The practical lesson is simple: clean first, inspect second, authorize work last. If it matters, it should be written. A complete heating job should have a complete scope, including the equipment, labor, testing, cleanup, and anything excluded. Knowing how to clean baseboard heaters will not solve every heating problem, but it will help you separate ordinary maintenance from a repair that deserves careful documentation.